Free Knitting Pattern – Big Porch Pumpkins
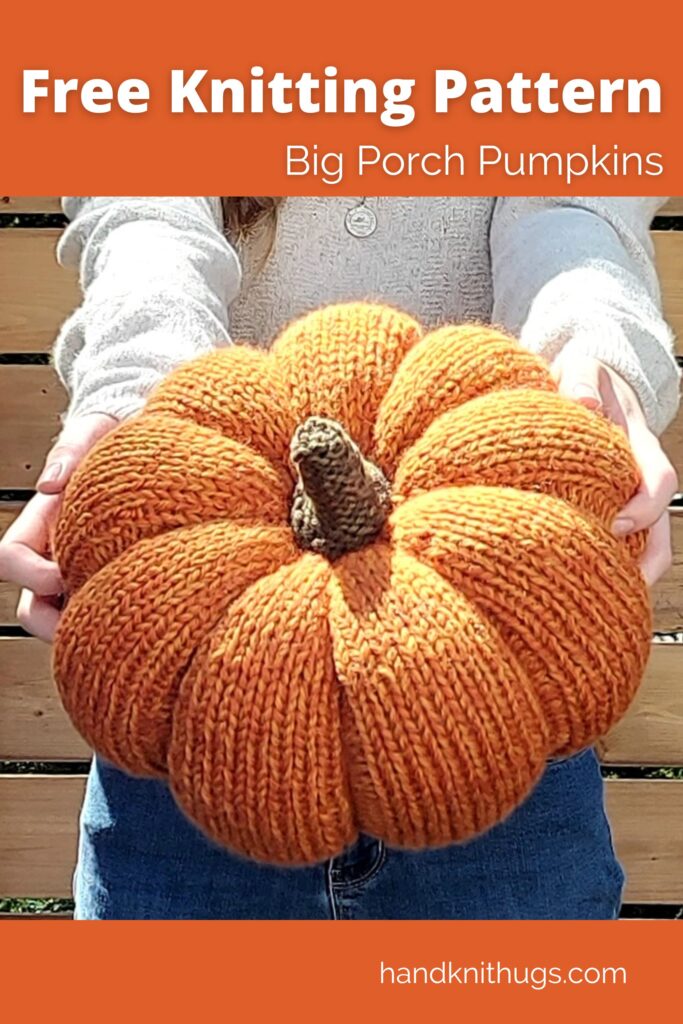
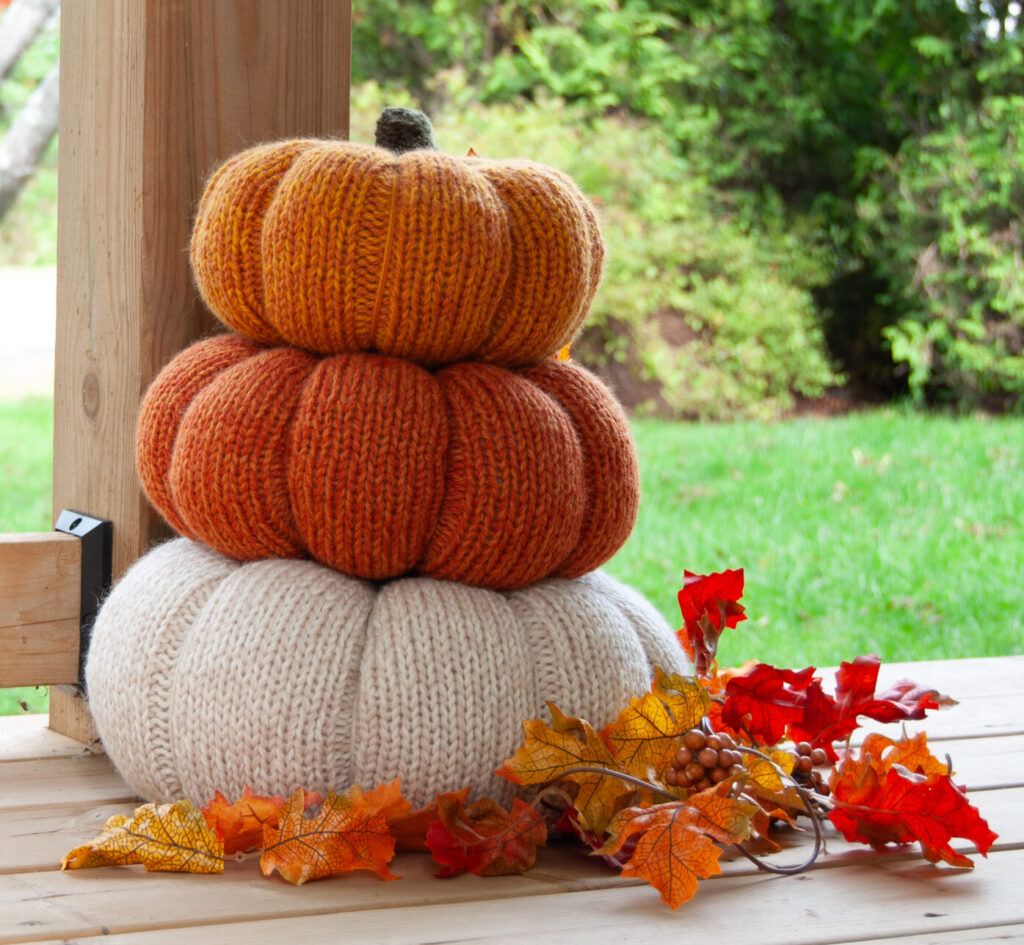
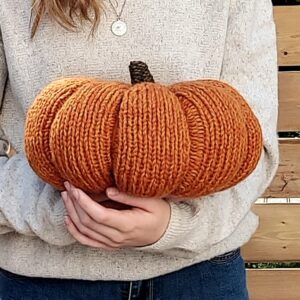
These BIG stuffed pumpkins will be a beautiful addition to your fall decor. Knit one up quick with big needles and two strands of worsted weight yarn held together. Use slightly different shades of orange for an awesome marled look. You can even go bigger with extra rows and stuffing (notes in pattern). Knit up all three sizes in different fall colours and stack them for a larger display.
I am little late this year getting this design published so I’ve decided to offer for free here for a limited time. If you would prefer a printable, ad free version of the pattern you can purchase it for a small fee on Etsy here. I actually designed this one in summer 2022 but got so busy with Fall orders that I had to put it aside. I started working on it again this summer and the same thing happened. I finally managed some time to get it written up, just in time for Halloween. Because I am releasing it so late in the season I thought I’d post it here as a free pattern for the rest of the year. I hope you enjoy!
The Pattern
Sizes
Small (Medium, Large)
Approximate Measurements:
Small – 9″ (23cm) diameter, 5.5″ (14cm) tall
Medium – 11″ (28cm) diameter, 6.5″ (16.5cm) tall
Large – 13″ (33cm) diameter, 7.5″ (19cm) tall
Yarn and Materials
This pattern is knit with two strands of worsted weight wool held together. You will need approximately 122 yd (164 yd, 192 yd) / 112m (150m, 175m) of each for the main pumpkin colour. The stem is also knit with 2 strands held together, you will need a small amount of each colour.
Colours for the pumpkin pictured:
Patons Classic Wool
Main Pumpkin: Pumpkin / Desert
Stem: Meadow / Moss Heather
Poly-fil: approximately 3.5oz(5.3oz, 7oz) / 100g (150g, 200g)
for the main pumpkin and a small amount for the stem
Gauge
4″ = 12 stitches, 18 rows
Needles, Tools and Notions:
Set of US10.5 (6.5mm) Double Point Needles
US 10.5 (6.5mm) Circular Needle, 16″ (40cm)
Removable stitch marker
Darning Needle
Abbreviations
CO – Cast On
DPNs – Double Point Needles
K2tog – Decrease one by knitting the next 2 stitches together
KFB – Increase one by knitting into the front and back of the next stitch
M1 – For this pattern you will picking up and knitting a new stitch in the leg of the next stitch on the left hand needle. This is also called a RLI (Right Lifted Increase)
P2tog – Decrease one by purling the next 2 stitches together
SSK – Decrease one by slipping the next 2 stitches knitwise, slip the left needle through the front of both loops and knit them together

Knitting Instructions
Small (Medium, Large)
All Sizes: CO 3 with 2 strands of yarn held together on US10.5(6.5mm) DPNs
KFB x3, divide these 6 stitches onto 3 needles and join round
Next Round: Knit to end
Next Round: [KFB] repeat to end (12 stitches – 4 per needle)
Next Round: Knit to end
Next Round: [KFB] repeat to end (24 stitches – 8 per needle)
Next Round: Knit
Next Round: [K1, M1, K1] repeat to end (36 stitches – 12 per needle
Next Round: Knit
Next Round: [K1, M1, K1] repeat to end (54 stitches – 18 per needle)
Next Round: [K5, P1] repeat to end
Next Round: [K4, M1, K1, PFB] repeat to end (72 stitches – 24 per needle)
Next Round: [K6, P2] repeat to end
Medium and Large Sizes Only: Next Round: [K1, M1, K4, M1, K1, P2] repeat to end (90 stitches – 30 per needle)
Next Round: [K8, P2] repeat to end
Large Size Only: [K1, M1, K6, M1, K1, P2] repeat to end (108 stitches – 36 per needle)
Next Round: [K10, P2] repeat to end
All Sizes Continue Here
Place a removable stitch marker into the bottom of the next stitch so you can easily count rounds from here
Switch to a US10.5 16” circular needle (optional)
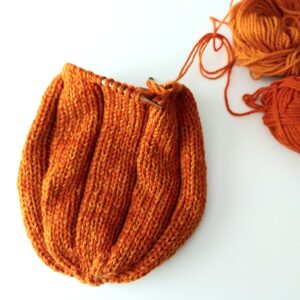
Repeat the last round a total of 38 (42, 46) times
Note: add more rows here (and stuffing later) if you want a taller pumpkin

Begin Decrease Rounds
Large Size Only: [SSK, K6, K2tog, P2] repeat to end
Next Round: [K8, P2] repeat to end
Medium and Large Sizes Only: [SSK, K4, K2tog, P2] repeat to end
Next Round: [K6, P2] repeat to end
All Sizes Continue Here
Next Round: [SSK, K2, K2tog, P2] repeat to end
Next Round: [K4, P2] repeat to end
Prepare for stuffing – weave in the loose end on the bottom and remove your stitch marker
Stuff with approximately 3.5oz(5.3oz, 7oz) / 100g (150g, 200g) of poly-fil
Switch to DPNs
Next Round: [SSK, K2tog, P2] repeat to end
Next Round: [K2, P2] repeat to end
Next Round: [K2tog, P2tog] repeat to end
Cut yarn and run it through the remaining stitches with a darning needle and pull tight. Sew a couple stitches in the center to secure.
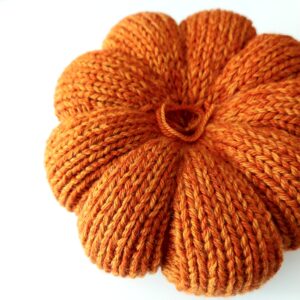
Cut a piece of yarn about 8(9, 10) 8 feet long. Using a darning needle run the yarn from the top center through to the bottom center and pull almost all of the way through, leaving a couple inches of loose yarn at the top. Begin to wrap the ribs going up the purl stitch lines and back through the top center of the pumpkin to the bottom center. Give a slight pull after to give your pumpkin the desired shape. After the first wrap, run the yarn up a line on the opposite side of the pumpkin for your next wrap. Repeat. Continue until each rib has been wrapped then tie off securely with the loose end at the top of the pumpkin.
Note on Shaping: Play around with the stuffing and form until you get the shape that you like. If you find the pumpkin is too short and wide push the sides together to make it a bit taller. It’s ok if the stuffing and your ribs are a little bit uneven, this will give it a natural pumpkin look.
Stem
Using your stem colours, 2 strands held together, CO 18 stitches leaving a long tail, approximately 18″ (you’ll use this to sew to your pumpkin later)
Note: The stem is worked in purl stitches. If you don’t love purling in the round you can work it in knit stitches instead and flip inside-out when done
Purl 1 row, divide these stitches onto 3 double point needles and join the round
Next Round: Purl
Next Round: [P4, P2tog] repeat to end
Purl 1(2, 3) rounds
Next Round: [P3, P2tog] repeat to end
Purl 1(2, 3) rounds
Next Round: [P2, P2tog] repeat to end
Next Round: Purl
Cut yarn and run through the remaining stitches and into the center with a darning needle. Weave in loose end on the inside.
Lightly stuff
Center the stem on the pumpkin and attach by sewing 2 stitches from the base of the stem to each rib of the pumpkin 3 rows down from the center. Sew a couple overlap stitches at the end to secure, weave a few more stitches then run the loose end into he pumpkin.
© 2023 Heather Pelletier – Handknit Hugs
This pattern is for personal, non-commercial use only.
Do not copy, re-distribute or sell this pattern either in whole or in part.
You may sell products made from this pattern – credit would be appreciated.
Thanks so much, I hope you’ve enjoyed this awesome fall pattern. If you would like to support me all you have to do is share. Comment at the bottom of this post if you have any questions or feedback.