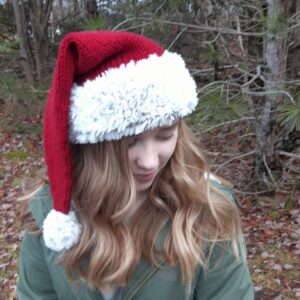
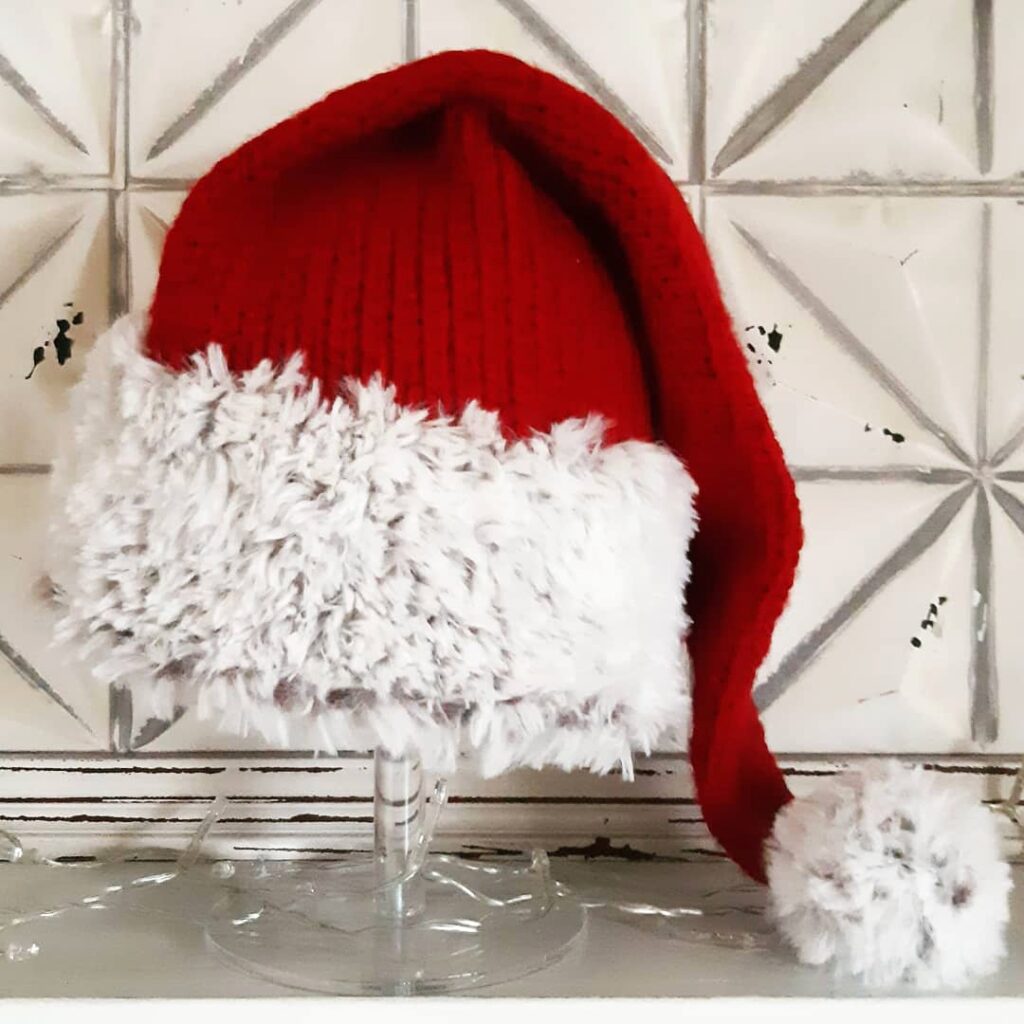
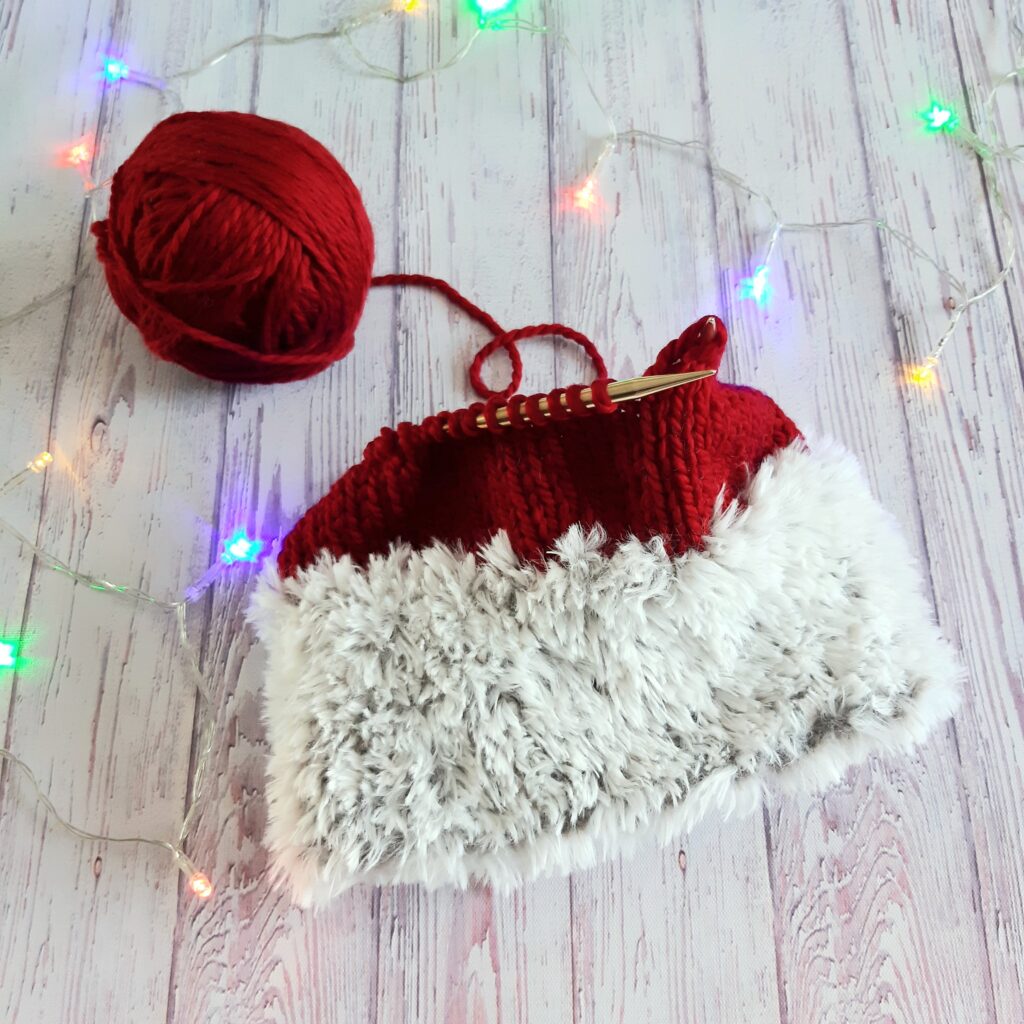
This is my favourite Santa hat. A wide brim knit up in this faux fur yarn gives it a perfect vintage Santa stocking hat look.
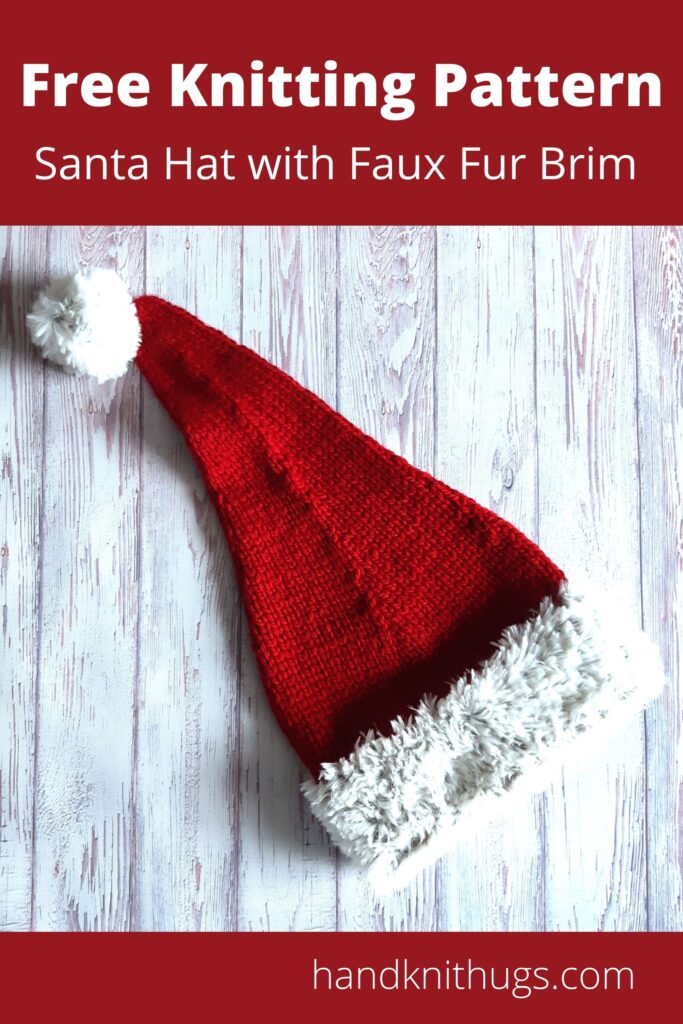
The faux fur yarn is from Loops and Threads (found at Michaels). I bought this one a couple years ago in the colour ‘Black/White’. I really liked it because it was black on the bottom and white on the top making it look realistic when you knit it up, and also like Santa has been down a few chimneys. There is a similar colour out this year called ‘Black Print’. The colours ‘Grey Print’ or ‘Ivory’ would also work well. The fur yarn can sometimes be a little difficult to knit with because you can’t see the stitches, but the needle slides nicely through the soft loops and you can feel through the fur to count rounds.
I used Cascade 128, my favourite superwash bulky wool, for the main part of the stocking hat. The Ruby colour is a beautiful deep red, perfect for Santa.
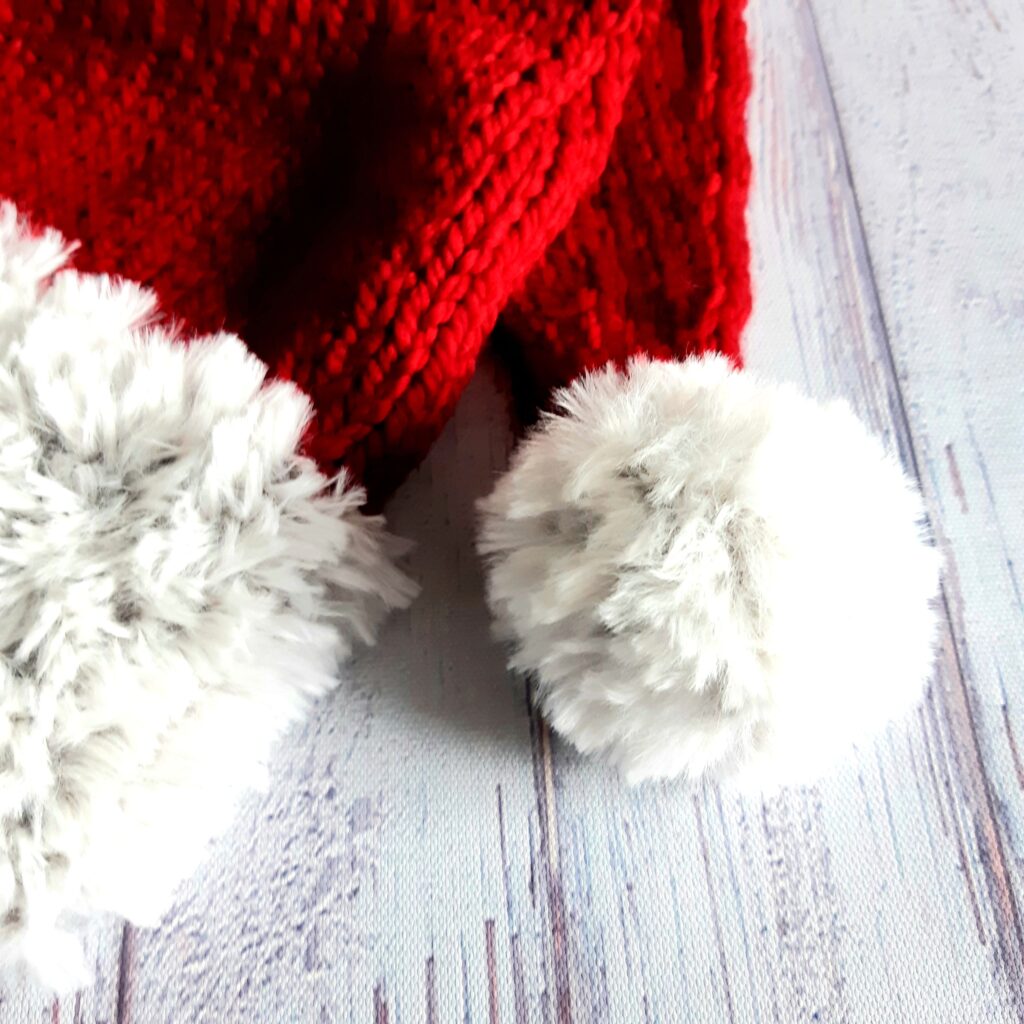
The hat is topped with a fluffy knitted ball ‘pompom’. I wanted my faux fur pompom on the end to match the brim, this was the best way to turn this yarn into the perfect pom.
I’ve written this in sizes for the whole family. Imagine the family photos, outside in the snow or sitting by the tree in your Christmas jammies. I also use one of these hats a topper on my Christmas tree and it looks awesome.
I hope you enjoy the pattern. Happy Holidays!!
The Pattern
Sizes
Baby(Toddler, Kids S/M, Kids L, Adult)
Approximate measurements:
Baby – 16″ (40.5 cm)
Toddler – 18.5″ (47 cm)
Kids S/M – 20″ (51 cm)
Kids L – 21.5″ (54.5 cm)
Adult – 24″ (61 cm)
Yarn
MC – Bulky weight (5) wool yarn in red – 128 yards
CC – Super Bulky (6) Faux Fur yarn in white/black – 35 yards
For this hat I used:
MC – Cascade 128 Superwash Merino Wool Bulky (5) Colour – Ruby
CC – Loops & Threads Fur Yarn Super Bulky (6) Colour – Black/White
Gauge
4″ = 14 stitches in stocking stitch in MC using US10 (6mm) needles
Needles and Tools
US 10 (6 mm) 16″ Circular Knitting Needle
US 10.5 (6.5 mm) 16″ Circular Knitting Needle
Set of US 10 (6 mm) Double Point Needles (DPNs)
Set of US 10.5 (6.5 mm) Double Point Needles (DPNs)
Stitch Marker
Darning Needle
Abbreviations
CC – Contrast Colour
CO – Cast On
DPNs – Double point needles
K2tog – Decrease 1 by knitting the next 2 stitches together
KFB – Increase 1 by knitting into the front and back of the next stitch
MC – Main Colour
Instructions
Hem
CO 32, (36, 38, 40, 44) with CC (faux fur yarn) on size 10.5 circular needle
Knit to end, place marker and join round
Knit 8 (9, 10, 12, 14) more rounds
Switch to MC (red) and size US10 circular needle
First Increase round: [K1, KFB] repeat to end
Second Increase round (last 4 sizes ONLY – for smallest size start main hat rounds)
[xx(K26, K18, K14, K10), KFB] repeat to end
You now have 48, 56, 60, 64, 72 stitches
Main Hat
Knit 12 (12, 14, 16, 18) rounds
Decrease Rounds – switch to size US10 DPNs when needed
[K10 (K12, K13, K14, K16), K2tog] repeat to end
Knit 1 round
[K9 (K11, K12, K13, K15), K2tog] repeat to end
Knit 2 rounds
[K8 (K10, K11, K12, K14), K2tog] repeat to end
Knit 3 rounds
[K7 (K9, K10, K11, K13), K2tog] repeat to end
Knit 4 rounds
Continue decreasing in 4 sections followed by 4 knit rounds until 12 stitches remain
Knit 4 rounds
K2tog – repeat to end
Cut the yarn. Using a darning needle run the yarn through the remaining stitches and through the center. Weave in loose ends.
Wash the wool part of the hat keeping the fur rim out of the water the best you can (it’s ok if it gets a little wet but will hold up better if you only surface clean). Lay to dry.
Faux Fur Knit Ball (pompom)
Using CC and US10.5 (6.5mm) DPNs
CO 3 leaving an tail approximately 7″
KFBx3 – split these 6 stitches onto 3 DPNs, join round
Knit 1 round
KFBx6
Knit 1 round
[K1, KFB] repeat to end
Knit 2 rounds
[K1, K2tog] repeat to end
Knit 1 round
K2tog – repeat to end
Cut yarn and run through the remaining stitches with a darning needle. Weave the loose end down one side and back up again (you’ll have to feel for the stitches) then run the remaining yarn into the ball pompom for light stuffing. You can use a little bit of polyfil for a fuller look.
Use the cast on tail to attach the pompom to the hat. Sew a few stitches firmly to the top. Weave the loose end down the pompom and back again, run the remaining yarn into the ball for stuffing.
© 2021 Heather Pelletier – Handknit Hugs
This pattern is for personal, non-commercial use only.
Do not copy, re-distribute or sell this pattern either in whole or in part.
You may sell products made from this pattern – credit would be appreciated.
Thank you so much for checking out this pattern. I hope you have enjoyed knitting it up. I would love to see your finished hat. Share your project on Ravelry or post a photo on Instagram and tag me @handknithugs.
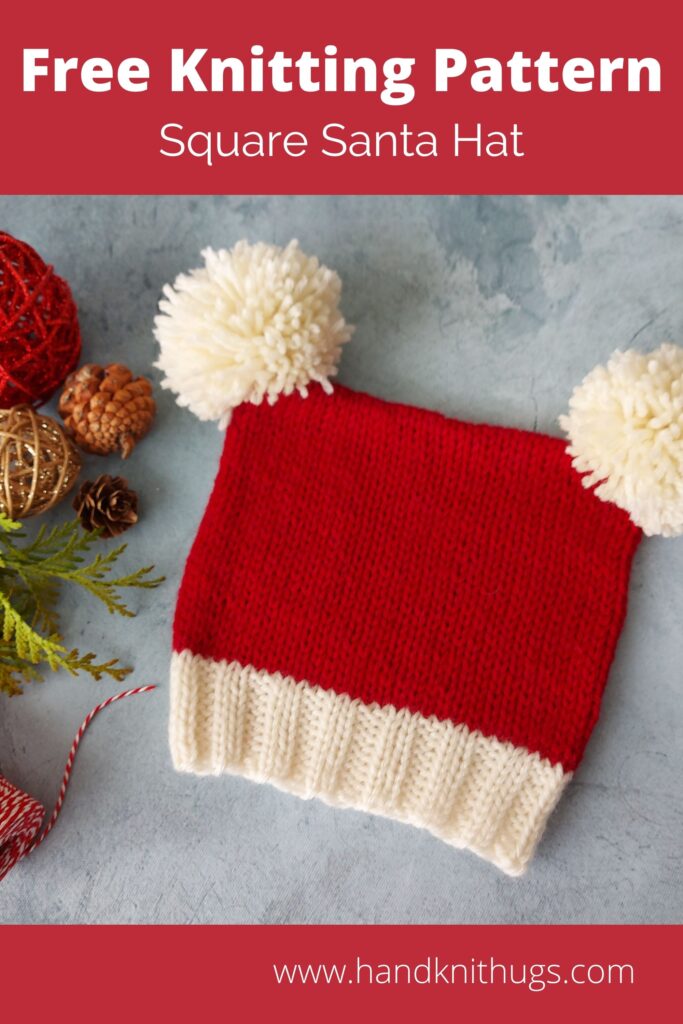
Looking for another fun and festive Santa hat? Check out my Square Santa hat free knitting pattern.