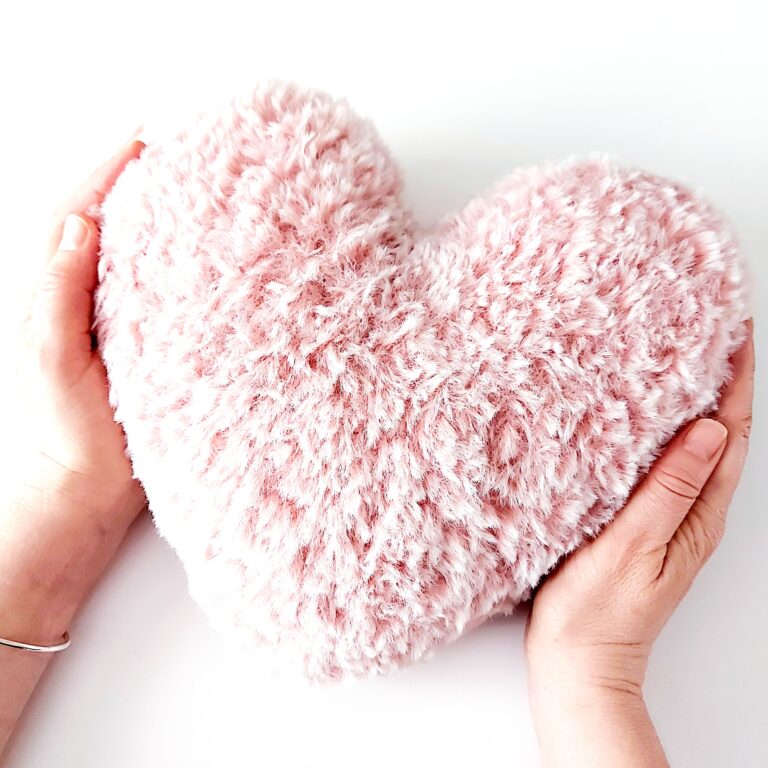
Little Wool Hearts – Free Knitting Pattern
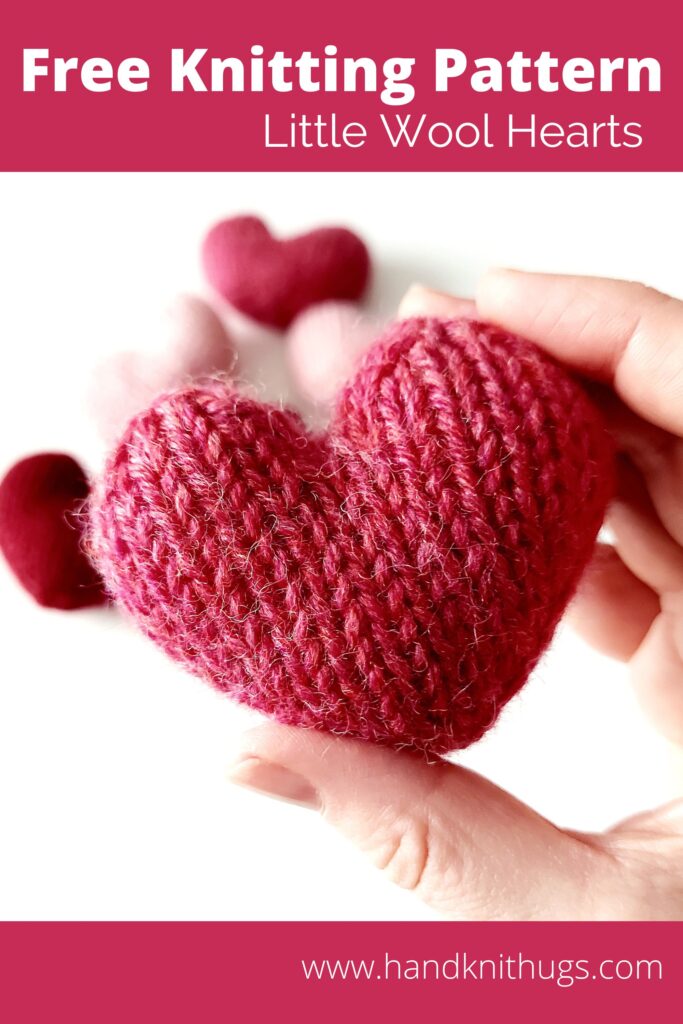
How cute are these little wool hearts? Perfect for Valentines Day decor and so much more. The instructions on how to knit them up yourself are below. They are so quick to you can make a bunch in an evening or weekend.
Affiliate Statement:
Hey Readers, the following post contains affiliate links. I may receive a small commission if you click and purchase from one of these links (which honestly, I’ll probably use to buy more yarn and design more awesome patterns to share with you). I only recommend products that I already use and love, thank you so much for your support.
There are so many things you can do with your little wool hearts. Add a loop of embroidery floss and attach to a thank you gift or maybe little mementos for a wedding or baby shower.
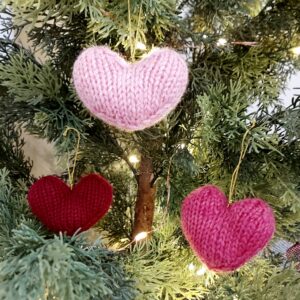
Use them to decorate your Valentines Day tree.
Stick a bamboo skewer down the center and add them to a vase of flowers or a cute wreath for Valentines Day.

Another great idea is to string them together with twine and make a beautiful love garland for a wedding.
What will you use your hearts for?
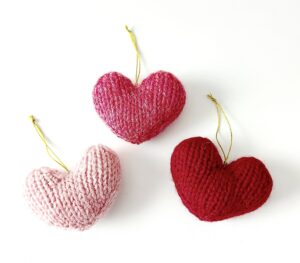
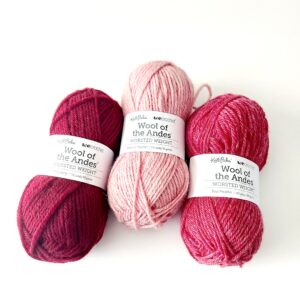
I love using wool for these. It gives them such a soft and pretty look, especially with the heathered tones. I used Knitpicks Wool of the Andes (affiliate link). It’s a sturdy worsted weight and I love these colours.
Wool also allows you to play around with the shaping a little more when you’re in the blocking stage. I do recommend washing and shaping these, you’ll be so happy you did. I’ve added instructions to wash in warm (almost hot) water with a little agitation for your first wash before giving them a cold rinse. This is going to felt the wool just a little to add an extra softness in the look and feel. If you want to felt them a little more you can throw them in the dryer for 5-10 minutes after you’ve removed the excess water with a towel (set a timer!) then re-shape when you take them out. If you’re not using wool this will not work. Stick to the washing instructions on the label.
Lessons learned: a little stuffing is better than a lot of stuffing. I found the more of these I made the more stuffing I was adding, I’m not sure why, it was just happening. I went back to the first few that I made and found that I liked a little stuffing better. The shaping was so much nicer, they looked more heart shaped.
Here are the instructions. I hope you enjoy knitting these up and sharing some love! – Heather
The Pattern

Size
3″ (7.5 cm) wide
2.5″ (6.5 cm) tall
Yarn and Materials
Worsted Weight Wool – each heart uses approximately 11 yards (10 meters)
I used Knitpicks Wool of the Andes (affiliate link) in the following colours:
Blossom Heather (light pink)
Rose Heather (medium pink)
Hollyberry (dark red)
Poly-fil or stuffing of choice – small handful
Needles and Tools
Set of US7 (4.5mm) Double Point Needles
Darning Needle
Stitch Holder (or circular needle US7 or smaller)
Gauge
1″ = 4.5 stitches and 6 rows
Abbreviations
CO – Cast On
DPNs – Double point needles
K2tog – (Knit 2 together) Decrease one by knitting the next 2 stitches together
KFB – (Knit front and back) Increase one by knitting into the front and back of the next stitch
M1 – (Make one stitch) For this pattern you will picking up and knitting a new stitch in the leg of the next stitch on the left hand needle. This is also called a RLI (Right Lifted Increase)
SSK – (Slip, slip, knit) Decrease one by slipping the next 2 stitches knitwise, slip the left needle through the front of both loops and knit them together

The Instructions
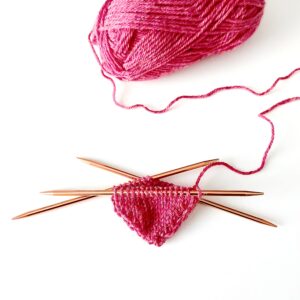
CO 3 with US7 (4.5mm) Double Point Needle (DPN)
KFB x3, split stitches across 3 DPNs and join round
Next Round: Knit
Next Round: K1, M1, KFB, M1, K2, M1, KFB, M1, K1 (12 stitches)
Next Round: Knit
Re-arrange your stitches so you have 6 stitches on the 1st needle and 3 stitches each on the 2nd and 3rd needles
Next Round: (K1, M1, K4, M1, K1) repeat
Next Round: Knit
Next Round: (K1, M1, K6, M1, K1) repeat
Next Round: Knit
Next Round: (K1, M1, K8, M1, K1) repeat
Next Round: Knit
Next Round: (K1, M1, K10, M1, K1) repeat
Next Two Rounds: Knit
Next Round: K6, M1, K1, M1, K13, M1, K1, M1, K7
Next Round: Knit
Next Round: K8, place the next 16 stitches onto a holder (or circular needle), split the remaining 8 stitches across two DPNs (4 stitches each), join round and knit these remaining stitches to finish the round
Next Round: Knit
Next Round: (K1, SSK, K2, K2tog, K1) repeat
Next Round: Knit
Next Round: K2tog x3
Cut yarn leaving a tail about 8” to 10”, run yarn through the remaining stitches with a darning needle. Sew a couple stitches on the inside to secure. Weave the tail toward the ‘v’ of the heart. You will use this later to sew closed the gap here.
Stuff half of your heart. Fill the bottom and finished top half with a small amount of poly-fil or stuffing of choice.

Place the first 8 stitches from your holder onto 2 DPNs (4 each), these will be your 2nd and 3rd needles. The remaining 8 stitches will go on the 1st DPN and will be the new beginning on the round (on the outside of the heart shape, not in the ‘v’).
K8, join round, K8
Next Round: knit
Next Round: (K1, SSK, K2, K2tog, K1) repeat
Next Round: Knit
Top up your stuffing here, making sure both side are even.
Next Round: K2tog x3
Cut yarn and through the remaining stitches with a darning needle. Weave through a few stitches to secure and run yarn into the center of the heart.
Use the tail yarn from the first side to close up any gap in the ‘v’ of the heart. Weave in any other loose ends and run into center. Give a little tug and trim the yarn so it gets lost in the stuffing
Washing and Blocking
For a fluffier finish to these hearts hand wash them in warm (almost hot) water and use a little agitation to gently felt (full) the wool. Rinse in cold water, gently squeeze, then roll on a towel to remove excess water. Reshape and lay out to dry.
© 2024 Heather Pelletier – Handknit Hugs
This pattern is for personal, non-commercial use only.
Do not copy, re-distribute or sell this pattern either in whole or in part.
You may sell products made from this pattern – credit would be appreciated.

Thank you so much, I hope you have enjoyed this pattern. Send some love and show me those finished hearts!! Share your project on Ravelry or post a pic on Instagram and tag me @handknithugs