How to Knit Stuffed Apples – Free Knitting Pattern
Affiliate Statement: Hey Readers, the following post contains affiliate links. I may receive a small commission if you click and purchase from one of these links (which honestly, I’ll probably use to buy more yarn and design more awesome patterns to share with you). I only recommend products that I already use and love, thank you so much for your support.
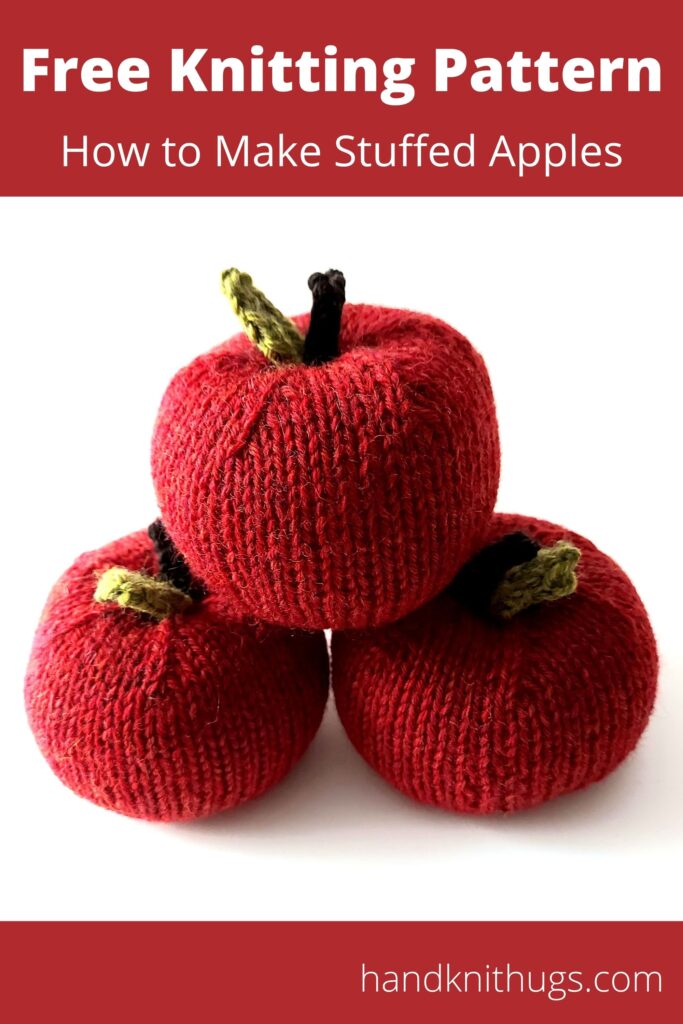
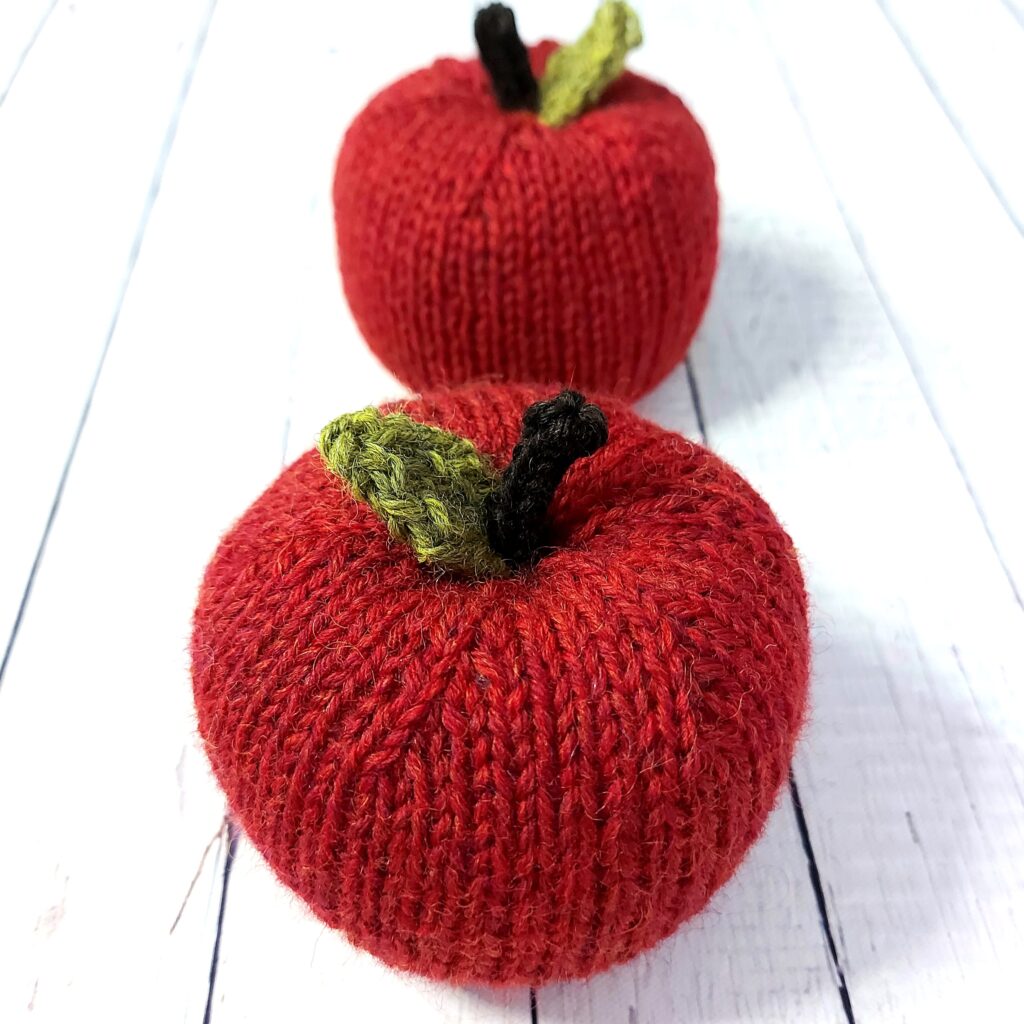
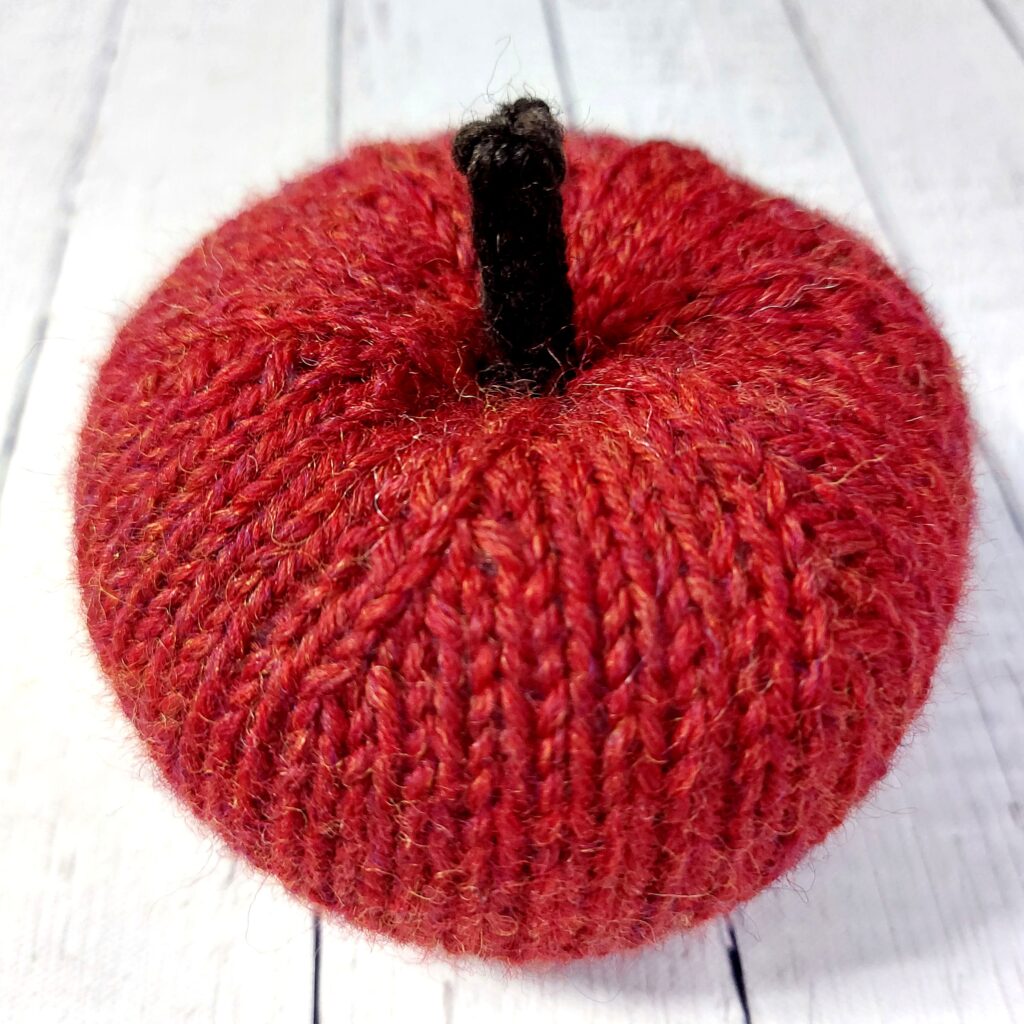
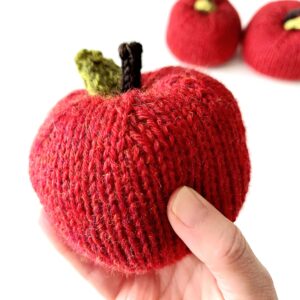
Apple Season is coming and how cute are these little stuffed apples?!
They are the perfect apple size knit up in an awesome round shape that is flat and indented on the bottom so they stand on their own without rolling over.
These will look beautiful mixed in with your fall decor. Add a few to a fall themed wreath or porch urn, place one in your table centerpiece or knit a bunch and fill a pretty bowl. The red and green decor will also transition well into the holiday season. They would look amazing hanging on the Christmas tree.
They also make awesome hostess or teacher gifts, wrap one up with some cinnamon sticks or some apple cider seasoning mix.
I used Knit Picks Wool of the Andes worsted (affiliate link, see statement at the top of this post) to knit up these apples. The red colour is one of my favourites, I have been using for years to make my wool apple hats. Firecraker Heather is a beautiful rich red with subtle undertones of yellow and purple which makes it perfect for fall. One ball will make 3 apples.
The Pattern
Size
Apple – 3.5″ diameter, 4″ tall with stem (3.25″ tall without stem)
Yarn and Materials
Worsted Weight Wool (4 – medium)
For the Apple in the pictures I used Knit Picks Wool of the Andes (affiliate link) in the following colours
Apple – Firecracker Heather / 36 yards – a 110 yard ball will make 3 apples
Leaf – Bamboo Heather / small amount
Stem – Bittersweet Heather / small amount
Poly-fil stuffing – 2-3 handfuls
Needles and Tools
Set of US6 (4.0 mm) double point needles
Removable stitch marker
Darning Needle
Gauge
4″ = 19 stitches
Abbreviations
CO – Cast On
DPNs – Double point needles
K2tog – (Knit 2 together) Decrease one by knitting the next 2 stitches together
KFB – (Knit front and back) Increase one by knitting into the front and back of the next stitch
P2tog – (Purl 2 together) Decrease one by purling the next 2 stitches together
RS – Right Side of your work
SSK – (Slip, slip, knit) Decrease one by slipping the next 2 stitches knitwise, slip the left needle through the front of both loops and knit them together
SSP – (Slip, slip, purl) Decrease 1 by slipping the next 2 stitches knitwise, return these stitches to the left-hand needle then purl them together through the back loops
WS – Wrong side of your work
Instructions
Apple
CO 6 with US 6 (4.0 mm) DPN, split these stitches across 3 DPNs and join the round
Next Round: Knit to end
Next Round: [KFB] repeat to end
Nest Round: Knit to end
Next Round: [K1, KFB] repeat to end
Next Round: Knit to end
Next Round: [K1, KFB] repeat to end
Next Round: Knit to end
Next Round: [K2, KFB] repeat to end
Next Round: Knit to end
Next Round: [K2, KFB] repeat to end
You should have 48 stitches (16 on each needle)
Place removable stitch marker here to start counting rounds
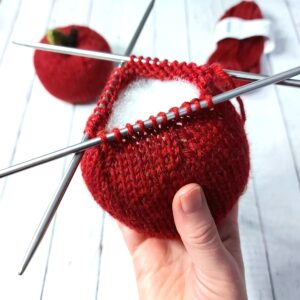
Knit 20 rounds
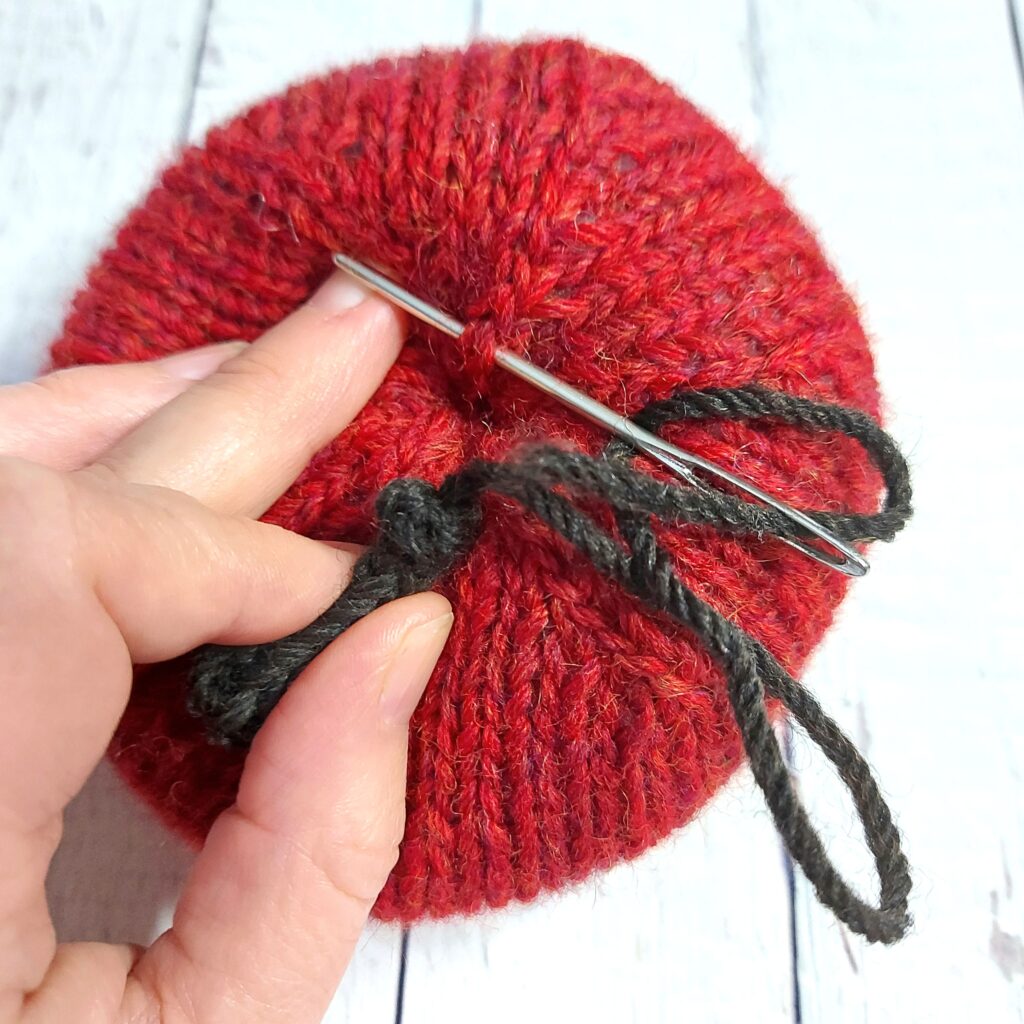
Before you begin decrease rounds use a darning needle to close up the hole in the bottom of the apple and stuff it:
Use the tail yarn from the cast on and run it through the cast on stitches and pull to close the hole. Run the yarn into the inside of the apple and weave in loose end.
Stuff the apple with 2-3 handfuls of poly-fil until you reach the desired shape and weight. Don’t over stuff here, you can top-up in a few rounds if needed.
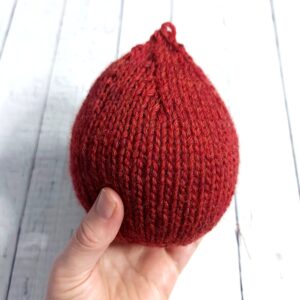
Begin Decrease Rounds
Next Round: [K6, K2tog] repeat to end
Next Round: Knit to end
Next Round: [K5, K2tog] repeat to end
Next Round: Knit to end
Next Round: [K4, K2tog] repeat to end
Next Round: Knit to end
Top up your stuffing if needed
Next Round: [K3, K2tog] repeat to end
Next Round: Knit to end
Next Round: [K2, K2tog] repeat to end
Next Round: Knit to end
Next Round: [K1, K2tog] repeat to end
Next Round: [K2tog] repeat to end
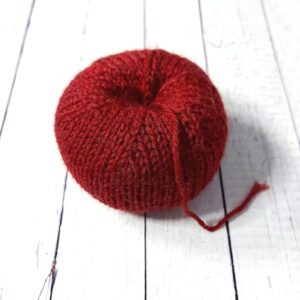
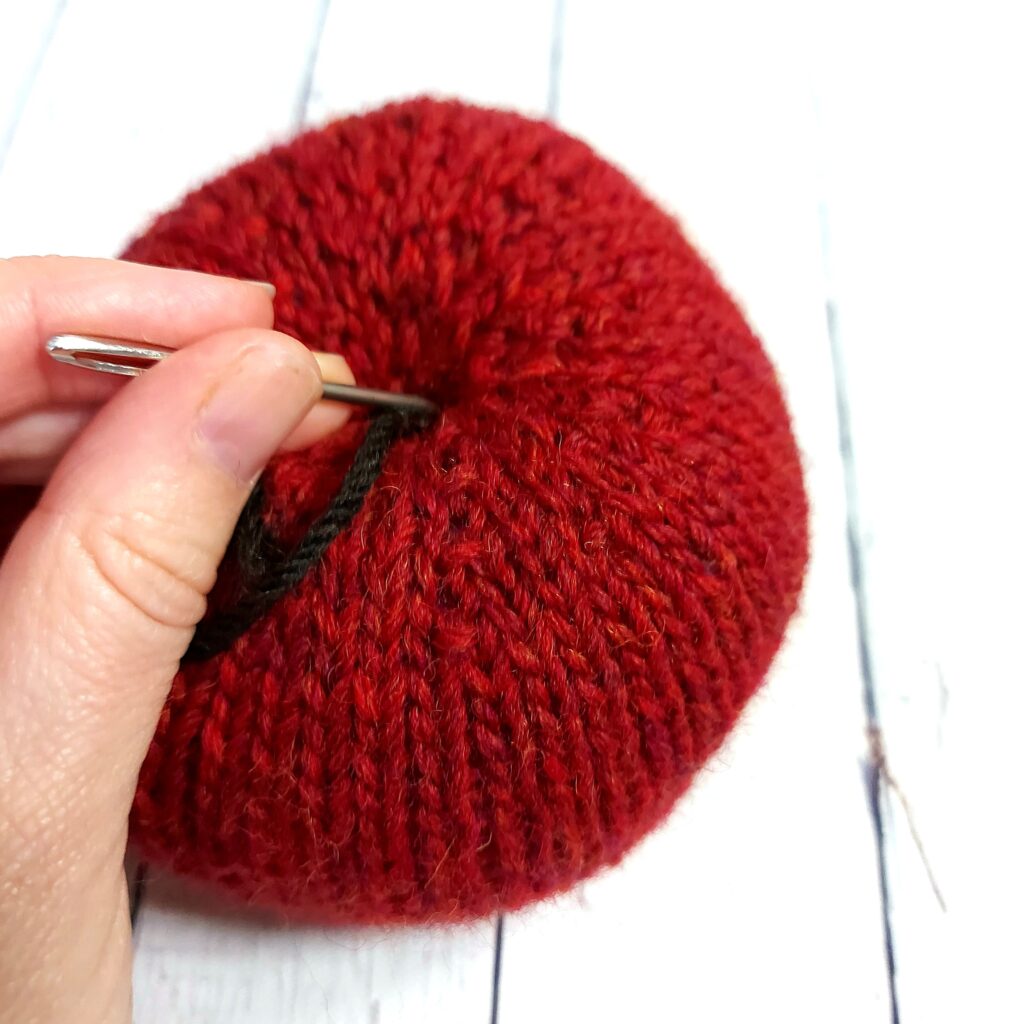
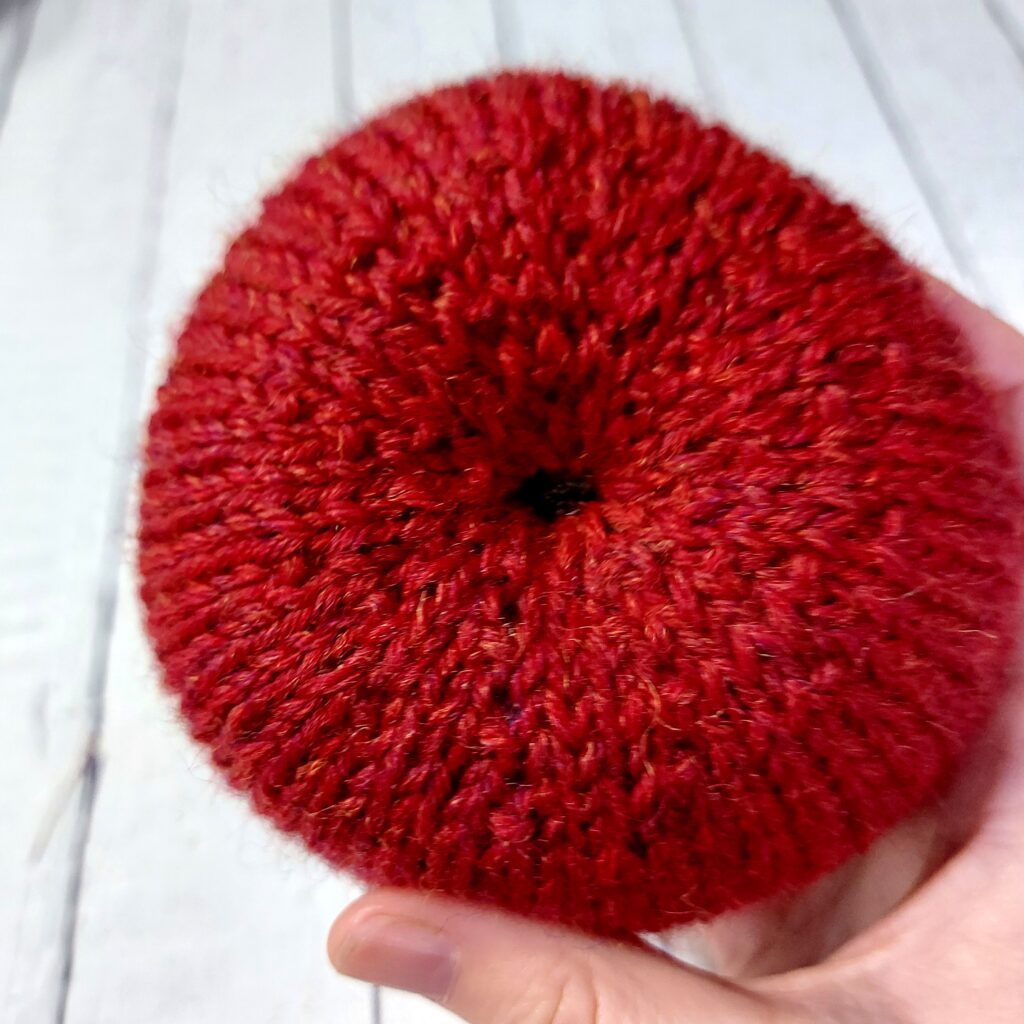
Cut the yarn leavingan 8″ tail. Run the yarn through the remaining stitches with a darning needle, pull to secure. Run the darning needle through the center of the apple and through to the bottom. Sew a couple stitches then run back up to the top center. Pull to get the desired shape and sew a few stitches then double knot the yarn to secure. Trim yarn.
Stem
CO 4 with a US6 (4.0 mm)DPN leaving a long tail (about 10”) to attach to apple later
Knit to end,
Do not turn, slide the stitch to the opposite end of the needle, knit to end
Repeat the last round 6 more times
Cut yarn and slide stitches to the opposite end, run the yarn through the stitches with a daring needle and pull. Weave in the loose end by running through the bind off stitches again then run down the center of the stem and trim.
Use the tail from the cast on yarn to sew the stem to your apple. Center it on the top and sew each stitch on the base of the stem to stitches on the apple just outside the center spot at the top of the apple. When done, run the yarn into the apple and through the bottom. Sew a couple stitches to secure, double knot and cut yarn. Run the loose end into the center of the apple.
Leaf
CO 5 with US 6 (4.0 mm) straight needles (or 2 DPNs) leaving a tail in the yarn about 8” for attaching to the apple later
Row 1 (WS): K1, P1, K1, P1, K1
Row 2 (RS): P1, KFB, P1, KFB, P1
Row 3: K1, P2, K1, P2, K1
Row 4: P1, KFB, K1, P1, K1, KFB, P1
Row 5: K1, P3, K1, P3, K1
Row 6: P1, SSK, K1, P1, K1, K2tog, P1
Row 7: K1, P2, K1, P2, K1
Row 8: P1, SSK, P1, K2tog, P1
Row 9: K1, P1, P2tog, K1
Row 10: SSP, P2tog slip the first stitch over the second bind off. Weave in loose end on the wrong side
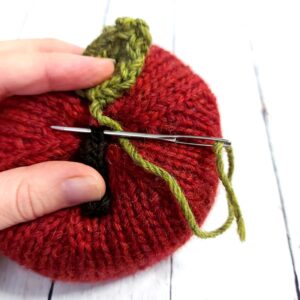
Use the CO tail to attach to the apple. Sew the leaf CO stitches to one side of the base of the stem. Sew a couple more stitches across the top of the leaf to secure to the apple then run the loose thread into the apple stuffing.
© 2021 Heather Pelletier – Handknit Hugs
Do not copy, re-distribute or sell this pattern either in whole or in part.
You may sell products made from this pattern – credit would be appreciated.
I hope you’ve enjoyed this pattern. Please comment below if you have any questions or feedback. If you like the pattern and want to support me all you have to do is share it. I would love to see your finished apples. Share your project of Ravelry or post a photo on Instagram and tag me @handknithugs. Thanks so much – Heather

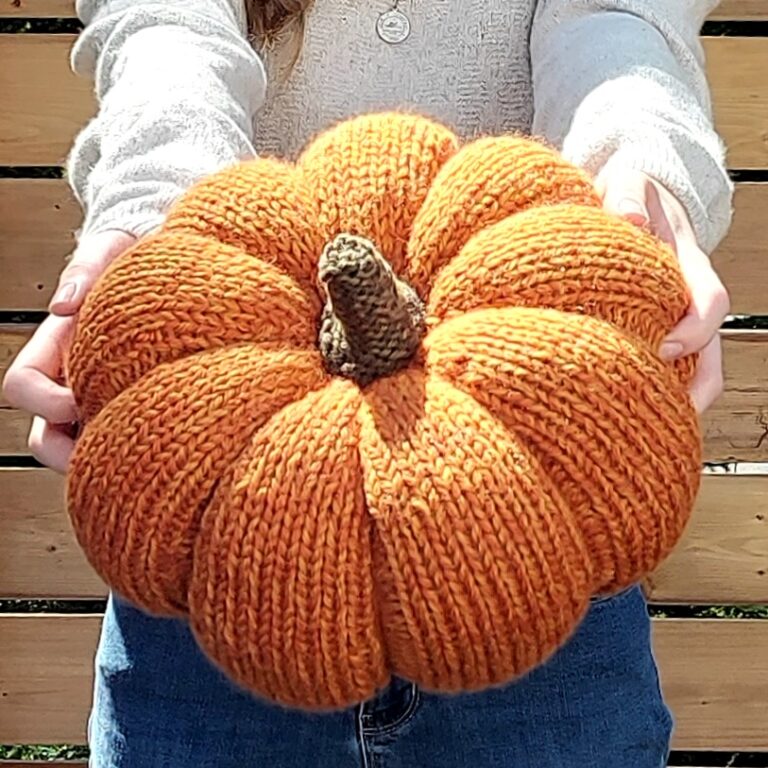
Looking for more things to knit up for your fall decor? Check out the Stuffed Rustic Pumpkin pattern