
Affiliate Statement:
Hey Readers, the following post contains affiliate links. I may receive a small commission if you click and purchase from one of these links (which honestly, I’ll probably use to buy more yarn and design more awesome patterns to share with you). I only recommend products that I already use and love, thank you so much for your support.
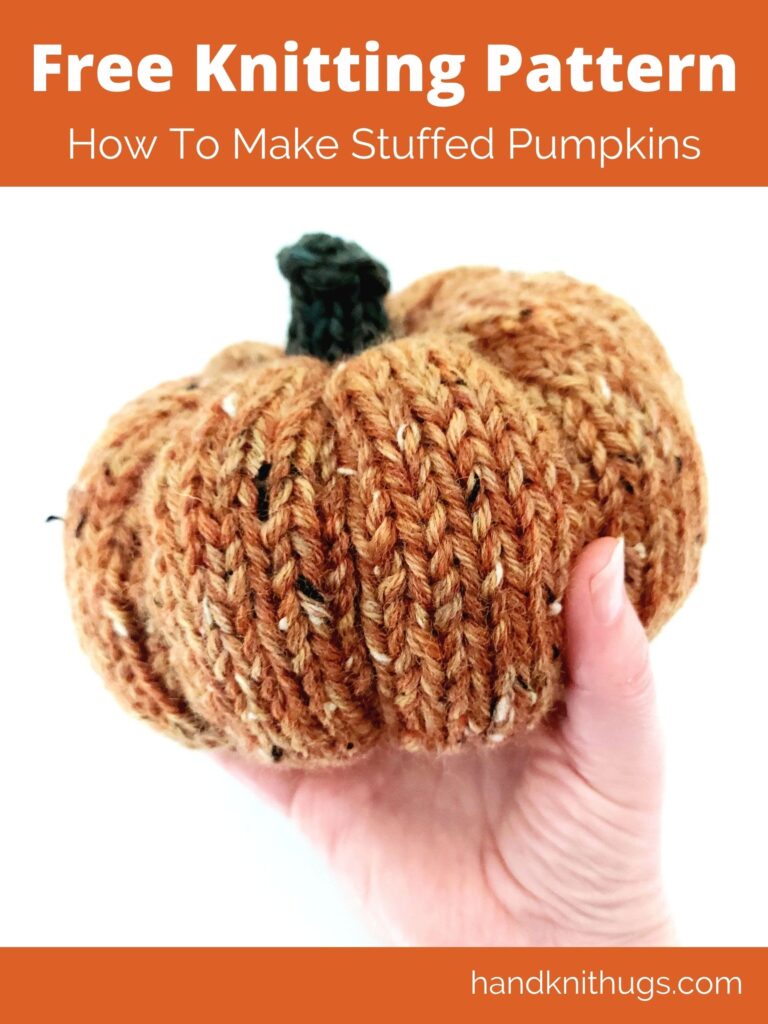
Free Knitting Pattern – Rustic Wool Pumpkins
I’ve been wanting to knit up stuffed pumpkins for years but I never think of it until the fall and by then I am always too busy with knitting orders to work on them. This year I remembered in July and decided to design my own version to share with you guys. These turned out so cute!
Fall is all about comfort for me. Everything is so beautiful, warm colours, rustic decor, leaves, apples and gourds. Also, the weather is amazing with warm days and cool nights, it’s time to pull out your favourite knit sweaters and beanies.
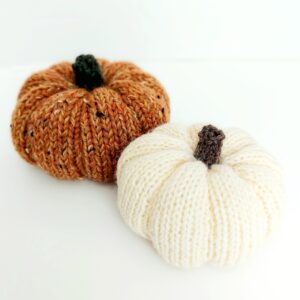
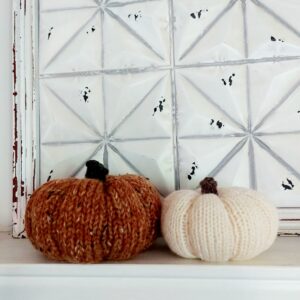
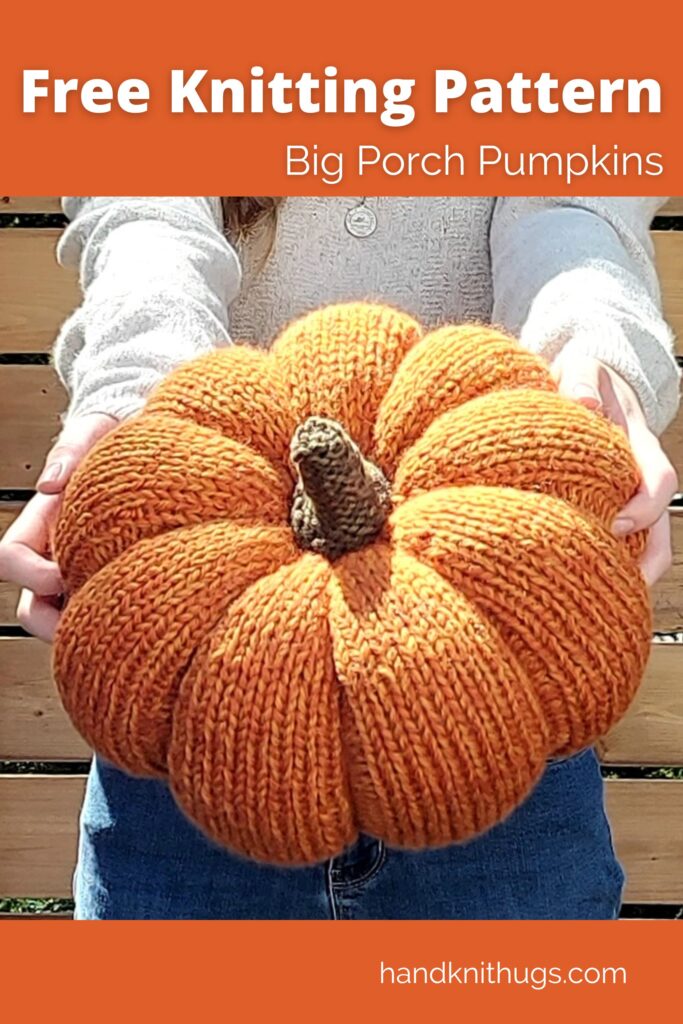
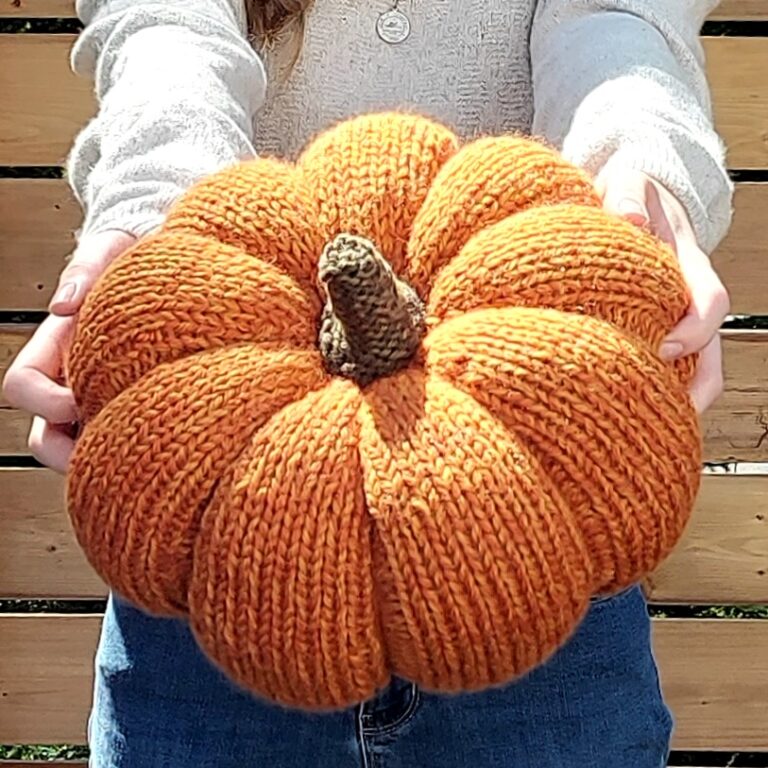
These little knit pumpkins will look amazing mixed into your fall decor. They are the perfect size for a mantle or table center piece. The small one will look great sitting in a fall wreath.
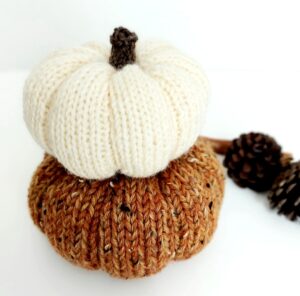
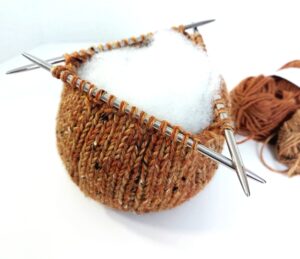
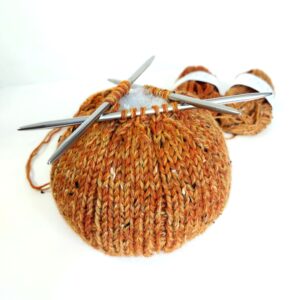
Both pumpkins are knit up using the same pattern, just different needle sizes. The large one measures approximately 6″ in diameter and is knit with 2 strands of worsted weight wool on size US10 (6mm) needles and the smaller one is knit with 1 strand of worsted weight on US7 (4.5mm) needles and is approximately 5″ in diameter. The 9 ribs of the pumpkin are separated by a line of purl stitches which are wrapped with yarn later for shaping. The stem is knit separately and sewn onto the pumpkin at the end. Make one, make both, or make a whole bunch.
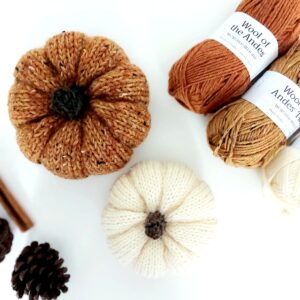
I used Knit Picks Wool of the Andes and Wool of the Andes Tweed to make these, both worsted weight (see affiliate link statement above). The small pumpkin is knit up in the colour Cloud, a beautiful off-white. The larger one is double stranded with the colours Persimmon Heather and Maple Heather in the tweed. I absolutely love how these colours mix, you get a very rustic brownish orange with those little bits of tweed, perfect for a pumpkin and so perfect fall.
The Pattern
Sizes
Small (Large)
Small – 5″ (13 cm) diameter
Large – 6″ (15.5 cm) diameter
Yarn and Materials
Worsted Weight Wool (4 – medium)
For the pumpkins in the pictures I used:
Small Pumpkin – Knit Picks Wool of the Andes (affiliate link), Cloud, 100 yards
Small Stem – Knit Picks Wool of the Andes (affiliate link) , Bramble Heather, small amount
Large Pumpkin – Knit Picks Wool of the Andes (affiliate link) , 1 strand Persimmon Heather, 1 strand Wool of the Andes Tweed (affiliate link) , Maple Heather, 100 yards each
Large Stem – Knit Picks Wool of the Andes (affiliate link), 1 strand Shire Heather, 1 strand Larch Heather, small amount of each
Poly-fil stuffing – approximately 4(5) handfulls

Needles and Tools
Small Pumpkin – Set of US7 (4.5 mm) double point needles
optional – US7 (4.5 mm)16″ circular needle
Large Pumpkin – Set of US10 (6 mm) double point needles
optional – US10 (6 mm) 16″ circular needle
Removable stitch marker / stitch pin
Darning Needle
Gauge
small pumpkin 4″ = 18 stitches
large pumpkin 4″ = 14 stitches
Abbreviations
CO – Cast On
DPNs – Double point needles
K1P1 – (Knit 1, purl 1) Increase one by knitting 1 and purling 1 into the next stitch
K2tog – (Knit 2 together) Decrease one by knitting the next 2 stitches together
KFB – (Knit front and back) Increase one by knitting into the front and back of the next stitch
P2tog – (Purl 2 together) Decrease one by purling the next 2 stitches together
SSK – (Slip, slip, knit) Decrease one by slipping the next 2 stitches knitwise, slip the left needle through the front of both loops and knit them together
Instructions
CO 3 with 1(2) strand(s) of yarn on DPN
KFB x3, divide these 6 stitches onto 3 needles and join round
Next Round: Knit to end
Next Round: [KFB] repeat to end (12 stitches – 4 per needle)
Next Round: Knit to end
Next Round: [KFB] repeat to end (24 stitches – 8 per needle)
Next Round: Knit
Next Round: [K1, KFB] repeat to end (36 stitches – 12 per needle
Next Round: Knit
Next Round: [K1, KFB] repeat to end (54 stitches – 18 per needle)
Next Round Knit
Next Round: [K5, K1P1] repeat to end (63 stitches – 21 per needle)
Place a removable marker/stitch pin at the end of this round to mark the end of the round and to be able to count rows going forward
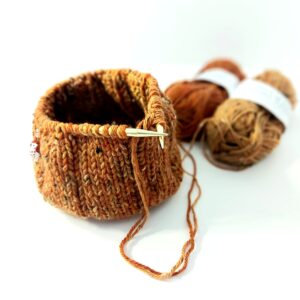
Work 28 Rounds of: [K6, P1] repeat to end
Optional: you can switch to a 16″ circular needle when you are about 10 rounds in. Don’t switch too early or you’ll stretch out the bottom. Add another stitch marker to mark your round beginning/end. If you prefer your DPNs, keep using them.
Begin Decrease Rounds – switch back to DPNs
Next Round: [SSK, K2, K2tog, P1] repeat to end.
Next Round: [K4, P1] repeat to end, fill your pumpkin with poly-fil
Next Round: [SSK, K2tog, P1] repeat to end. Double check your stuffing here to decide if you need more. You want a nice ball shape that will be slightly flattened later. Do not over stuff.
Next Rounds: [K2, P1] repeat to end
Next Round: [K2tog, P1] repeat to end.
Cut yarn and run it through the remaining stitches with a darning needle and pull tight. Sew a couple stitches in the top of the center to secure.
Cut a piece of yarn about (7 feet) 8 feet long. Using a darning needle run the yarn from the top center through to the bottom center and pull almost all of the way through, leaving a couple inches of loose yarn at the top. Begin to wrap the ribs going up the purl stitch lines and back through the top center of the pumpkin to the bottom center. Give a slight pull after to give your pumpkin the desired shape. After the first wrap, run the yarn up a line on the opposite side of the pumpkin for your next wrap. Repeat. Continue until each rib has been wrapped then tie off securely with the loose end at the top of the pumpkin.

Stem
Note: I’ve added slight decreases to the stem to give it more of an authentic pumpkin look. If you want an even stem you can skip the decreases.
Using you stem colour, CO 9 stitches leaving a long tail, approximately 10″ (you’ll use this to sew to your pumpkin later)
Knit 1 row, divide these stitches onto 3 double point needles and join the round
Knit 4 rounds
Next Round: K2tog, Knit to end
Next Round: K2tog, Knit to end
Next Round: P2tog, Purl to end
Next Round: Knit to end
Cut yarn and run it through the remaining stitches with a darning needle. Pull tight and run through the center of the stem. Weave in this loose end on the inside of the stem. Add a little stuffing if needed.
Use the tail from the cast on yarn to sew the stem to your pumpkin. Center it on the top of your pumpkin and match up the 9 stitches from the base of the stem to the 9 ribs of the pumpkin and sew it in place.
Shaping
Play around with the stuffing and form until you get the shape that you like. If you find the pumpkin is too short and wide push the sides together to make it a bit taller. It’s ok if the stuffing and your ribs are a little bit uneven, this will give it an authentic pumpkin look.
Washing is optional. Washing will soften the wool, good if your pumpkin will be used as a stuffed toy. However, if you are using it for decor you can save time and skip this step.
Enjoy
© 2021 Heather Pelletier – Handknit Hugs
Do not copy, re-distribute or sell this pattern either in whole or in part.
You may sell products made from this pattern – credit would be appreciated.
Thanks so much, I hope you’ve enjoyed this awesome fall pattern. If you would like to support me all you have to do is share.
Comment at the bottom of this post if you have any questions or feedback.
I would love to see your finished pumpkins. Share you project on Ravelry or share a photo on Instagram, tag me @handknithugs
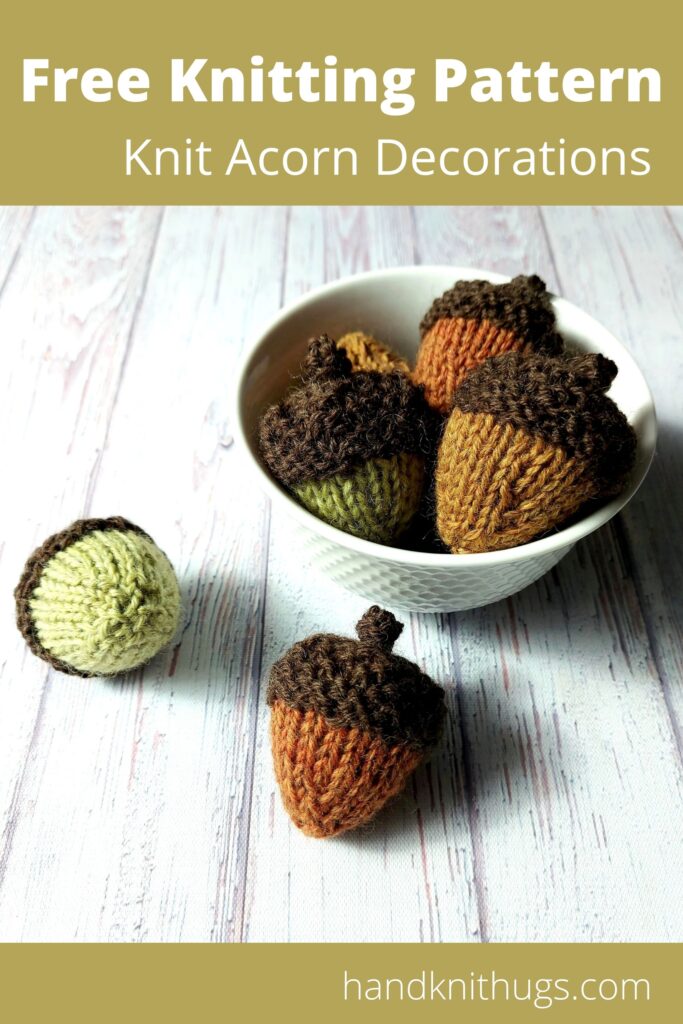
Looking for another fun fall project? Check out these cute little knit acorns. They are much smaller than the pumpkins so you’ll make a bunch in one sitting. The base and cap are knit in one piece so each acorn works up super quick. Also, this is an awesome stash buster with so many fall colour options too!

Thank you for the pumpkin pattern. I am looking forward to doing many of these this year.
You’re welcome. They are so much fun to knit up, I hope you enjoy. Thanks so much